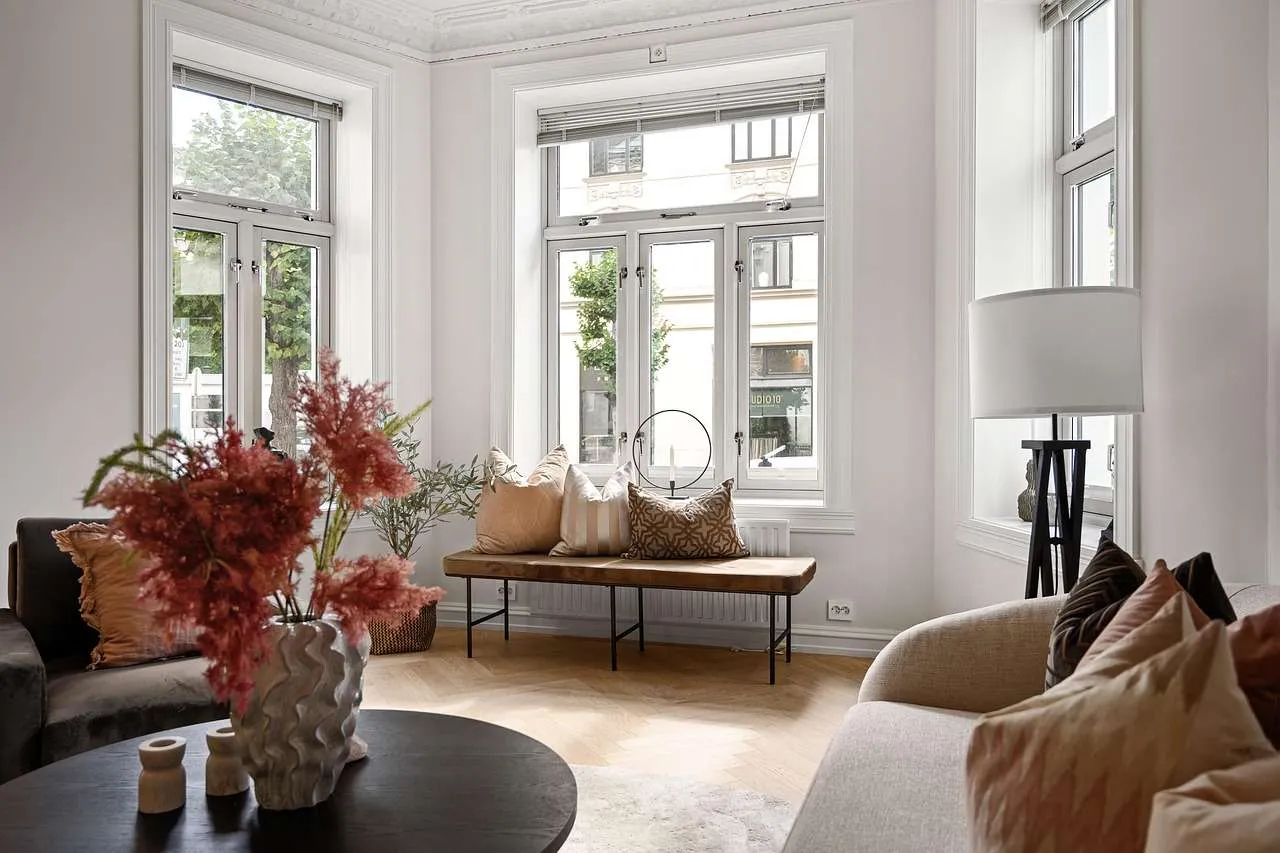
If you are searching for a reputable solution to heat, glare, and UV damage, you are likely focusing on home window tinting near me. Professional residential tinting can drastically improve comfort, protect furnishings, and lower energy bills when performed by qualified installers. This guide covers what you need to know to make an informed choice.
What is home window tinting?
Home window tinting involves applying a transparent film to the interior side of glass panes. The film reduces solar heat gain, blocks ultraviolet light, and moderates glare. Modern films are designed to be durable, scratch resistant, and optically clear, so you can maintain your view while enjoying improved comfort. For the best results, it should be installed by trained technicians who understand glass preparation, film handling, and edge sealing to prevent peeling or bubbling.
Benefits of home window tinting
- Significant reduction in solar heat and cooling loads, especially on south and west-facing windows
- UV protection that helps preserve carpets, artwork, and furnishings
- Increased daytime privacy without heavy blinds or shades
- Glare control for screens and in living areas, improving comfort and readability
- Enhanced safety and security by adding a protective layer to the glass
How to find home window tinting near me
Local search is best started with a shortlist of licensed, insured installers. Look for providers who offer factory-certified films from brands such as 3M, Llumar, or Sun-Gard, as these options often come with stronger warranties and better performance. Read reviews from homeowners in your area, request quotes, and confirm they can provide in-home color consultations and sample films. When you speak with a contractor, ask about their license, insurance, and whether their technicians are factory-certified or trained by the film manufacturers. A reputable installer will present a written estimate, surface preparation steps, film type options, and warranty coverage before work begins.
Choosing a reputable installer
EEAT matters here. Look for contractors with a proven track record, detailed written proposals, and clear guarantees. Questions to ask include: Do you have current licensing and insurance? Do you use certified installers for the film brands you offer? What is the warranty on labor and on the film itself? Can you provide references and in-home color samples? Will you remove old film and ensure clean edges without wallpaper or frame damage? Ask to see the film’s Visible Light Transmission (VLT) rating options and how they affect heat rejection, glare, and privacy in different rooms.
Film types at a glance
| Type | Pros | Cons | Typical cost | Best for |
|---|---|---|---|---|
| Dyed film | Low cost, good appearance, enhanced privacy | Prone to fading; less durable | 3-7 per ft2 | General use, privacy |
| Metalized film | Strong heat rejection, adds strength | Can interfere with electronics and GPS | 5-10 per ft2 | Energy savings in bright climates |
| Ceramic film | Excellent heat control, non-reflective, low interference | Higher upfront cost | 8-15 per ft2 | High-performance comfort, clear views |
| Composite/Hybrid | Balanced performance and price | Variable warranty terms | 6-12 per ft2 | Versatile homes with mixed needs |
Installation process and timeline
A professional installation typically begins with a consultation to select film type, followed by precise measurements and careful surface prep. The installer cleans and degreases glass, removes old film if present, and applies the new film using squeegees and heat to prevent air bubbles. Edges are trimmed for a seamless look, and the film is allowed to cure as advised by the manufacturer. Most homes with standard windows can be completed in one to two days, depending on the number of panes and rooms. DIY attempts risk peeling, bubbles, and voided warranties, so hiring a certified installer is generally the safer long-term choice.
Maintenance and care
Maintenance is simple: clean with a mild soap solution and a soft cloth. Avoid abrasive sponges and ammonia-based cleaners, which can degrade some film layers over time. Allow the film to cure fully before thorough cleaning, and address any edge lifting promptly by contacting your installer under the warranty terms. Regular inspections can help catch issues early and maintain clarity and color fidelity.
Cost considerations and ROI
Costs vary by film type, window size, and labor rates. Typical ranges per square foot are 3-7 for basic dyed films, 5-10 for metalized options, and 8-15 for ceramic solutions. The ROI comes from reduced cooling costs, less glare, and protection for furnishings, often yielding measurable savings within 2 to 7 years depending on climate. Warranties vary by brand and installer and may cover fading, bubbling, and edge seal failures for a set period. When evaluating quotes, compare the film type, warranty length, and whether the bid includes edge sealing and removal of old film.
Conclusion and next steps
For homeowners, choosing the right film and a trusted installer is essential to achieving durable comfort and value. Start by searching for home window tinting near me, verify licensing and insurance, request in-home samples, and obtain written quotes that specify film type, visible light transmission, warranty terms, and installation scope. By focusing on credible providers and high-quality films, you maximize energy savings and interior protection while preserving your view.
Summary, a careful approach to selecting a local, licensed installer and a suitable film type ensures long-term comfort, better privacy, and smoother energy performance for your home bathrooms, living rooms, and sunny rooms. By confirming credentials, reviewing warranties, and choosing a film that matches climate and lifestyle, you can confidently pursue the best outcome for home window tinting near me.